
If you, like me, were disappointed to not win a bag during ScrapsKC Get to Know Your Customer promotion (or if you just need another shopping bag), have I got a post for you!
I’m going to show you how I made my donated bag. It’s big, made with almost zero waste, and you can get everything you need from ScrapsKC or your stash!
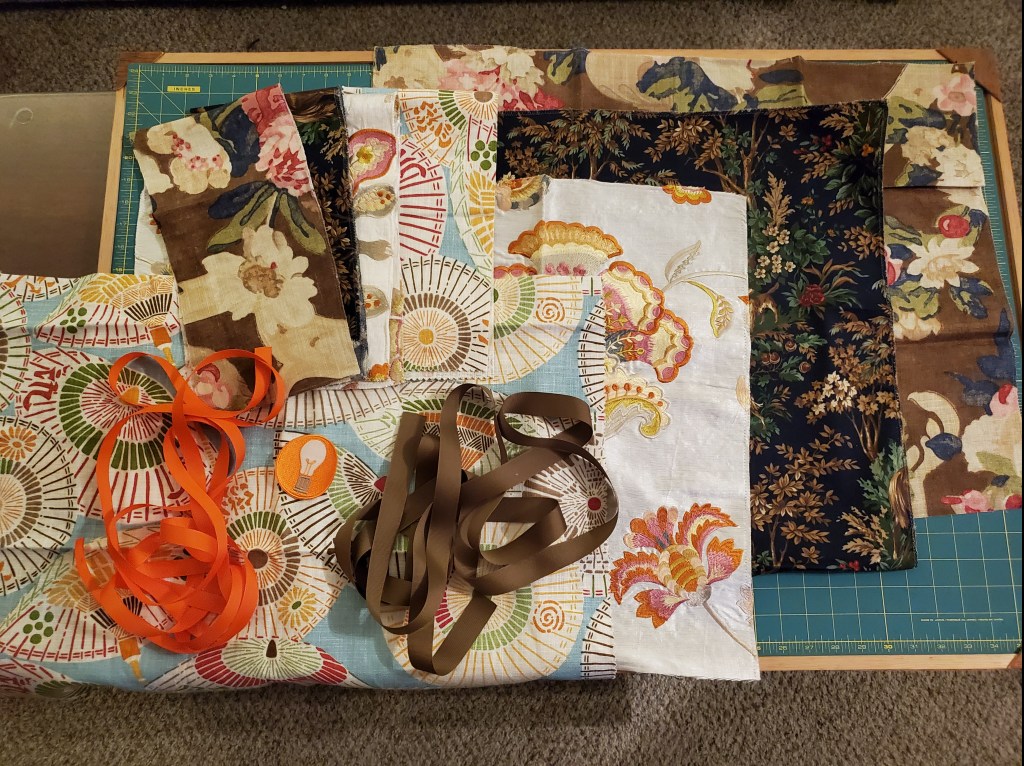
For a take on my bag, you’ll need:
- Four upholstery samples, 26″ x 26″ (as of this writing, they’re on the far left wall as you come in, near the offices)
- Six yards of ribbon (since it can be tricky to find/have six yards laying around, three yards of two different ribbons works great! Can confirm!)
- Any decorative elements you’d like to add (like, perhaps, a handsome ScrapsKC patch)
- And your sewing basics: scissors or rotary cutter, thread, ruler, a needle for a tiny bit of hand-stitching, and a sewing machine (or hand-stitch it all, if you’re up for that!!)
Some notes before we get started: if you’re into perfectly pressed seams, this may not be the bag for you. Most of my samples had some percentage of synthetics in their fiber content, and I’m very sensitive with those under an iron. Also, my seam allowance was 1/2″, unless noted, but this is a bag, so really as long as you’re consistent, you’re fine.
Because I was aiming for as little waste as possible, this bag is pretty large. If you want a smaller bag, or you have smaller stash scraps you’d like to use instead, totally fine. I’ll add notes where I can of how to make this bag to your own dimensions.
First, we need to cut some fabric for the pockets. Cut 6″ off the top of each sample.
If using other scraps, you’ll want a piece about an inch wider than you want your final pocket to be and twice as long as you’d like it tall on your bag.

Add any decorative elements to your pockets, keeping in mind that the center of your length of fabric will be the top edge of that pocket. Orient your decorative elements with that in mind, and note that one side will face out while the other will be inside the pocket. Feel free to add decorative elements to the inside, if you’d like. They’ll just be your little secret (like my handmade tag!).
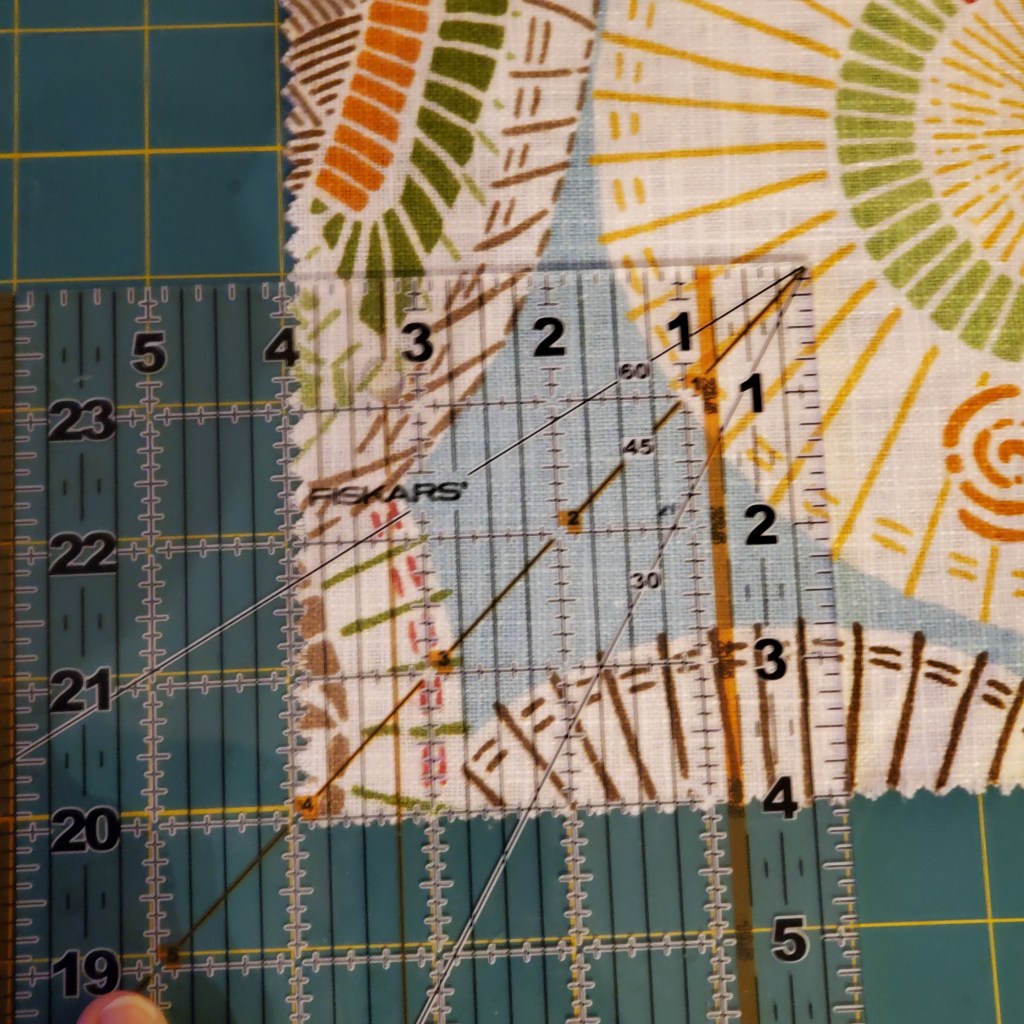
From each of the main body bag pieces, cut a 4″ square out of both bottom corners. This will give depth to your bag, and these little squares were the only waste I had. I wish I had thought ahead and sewn them together to make a matching coin purse. Then it could have truly been zero waste! Feel free to do that, if you’d like. Learn from my follies.
You want this corner to be about 1/6th of the width of your bag body piece, but it can be larger or smaller, depending on how much space you’d like in your bag. As long as the four body pieces end up the same size, you’re golden.

Fold the pocket piece in half, right sides out, and center it along the bottom edge of an “outside” body piece. Cut two pieces of ribbon as long as the height of the piece, and pin them in place over the raw side edges of your pocket. Sew down both sides of the ribbon, as close as you can to the edge without going over, and repeat these steps on the other body piece you want on the “outside” of your bag.

We’ll repeat it for the “inside” pieces as well, but instead of two lengths of ribbon, take one that’s a yard and a half long. Have it loop at the top to create the handle of the bag, being careful not to twist it.

Secure it down leaving about an inch at the top, so you can finish that edge without the handles getting in your way.
Make your handles any length you’d like. I usually use a tape measure to act like a handle, so I know how long I want that to be. Add the height of your bag two times to that, and that’s how long you cut your ribbon handles.
Put both of the “outside” pieces together, right sides facing. Seam down both sides and the bottom.
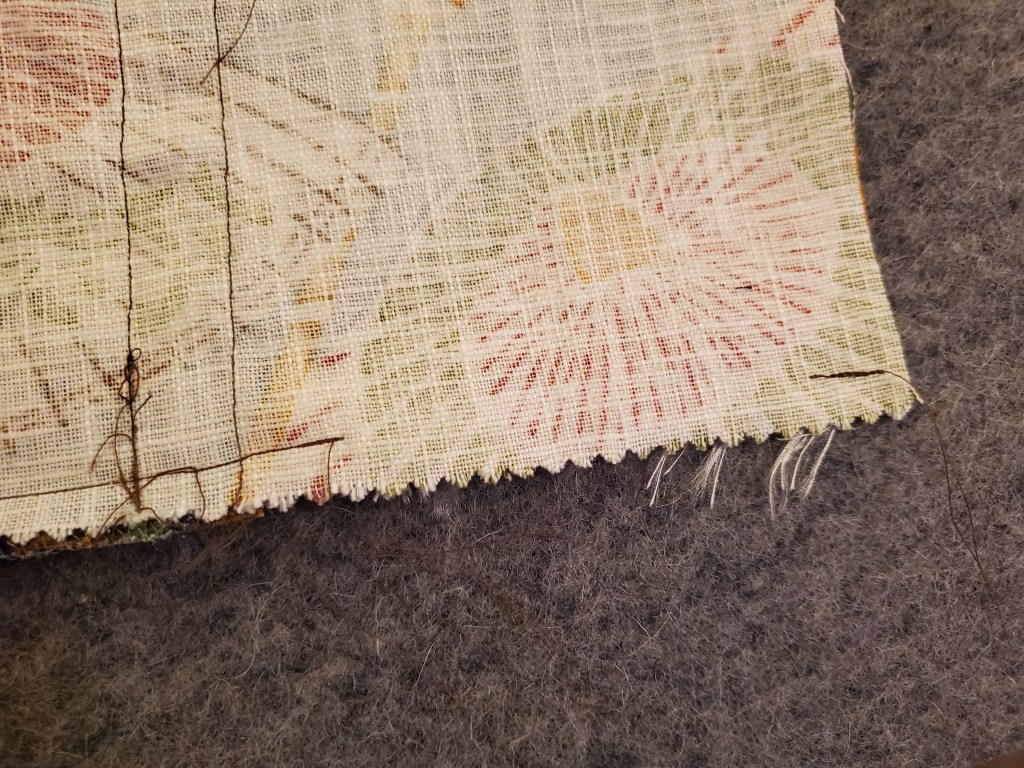
Repeat for the inside pieces, but leave an approximately 4″ gap on one side of the bottom edge. This will allow you to turn your bag right side out later. For both the “outside” and “inside,” sew the corners you cut out together, matching the bottom and side seams when you do.

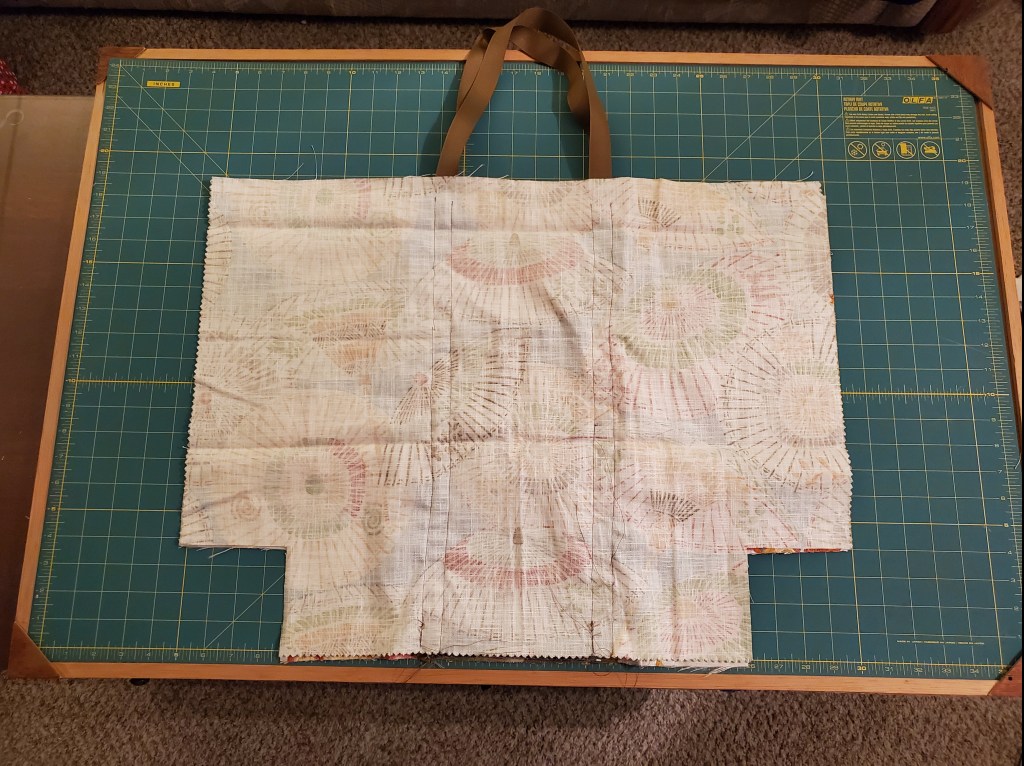
Place the “outside” of the bag, right side out so both right sides are facing, inside the “inside” of the bag, so the tops line up.

Sew all the way around the top of the bag (being sure not to sew the handles in the process).

Turn the bag right side out through the hole at the bottom of the “inside.” Once it’s all right side out, situate the “inside” inside the “outside,” and top stitch all the way around the top of the bag (over the handles this time). I did two lines of top stitching, at 1/4″ allowance and 1/2″ allowance, but you do you.

Hand stitch the the opening you turned your bag through shut (I used a mattress stitch).

You’re done!! Enjoy your fabulous shopping bag! I hope you’re so happy with it, you take immediate FO photos with bad indoor light, like I did.
I’d love to see your finished bag!! Please tag your photos with #fiberadventures on Instagram, or tag FahrOut Fiber on Facebook!

Great project. I love being able to use up stash that is too nice to discard.
LikeLiked by 2 people
Thanks for sharing your project with detailed instructions and all the great photos.
LikeLiked by 2 people