
As I said in Tuesday’s post, I had to bust out a couple of baby gifts for a shower with less than two weeks notice. This coworker is well worth more than one gift, too, so what to do? I chose a nursery-themed toy in a slightly bulky yarn and an old, quick baby quilt staple I learned how to make in my Hancock days.
When I say Hancock days, I mean my manager at the shop taught me how to make this by word-of-mouth only. That’s how easy it is. This blanket is so quick and so cute, and it very often becomes a kid’s favorite. It’s honestly about time I shared a tutorial on it.
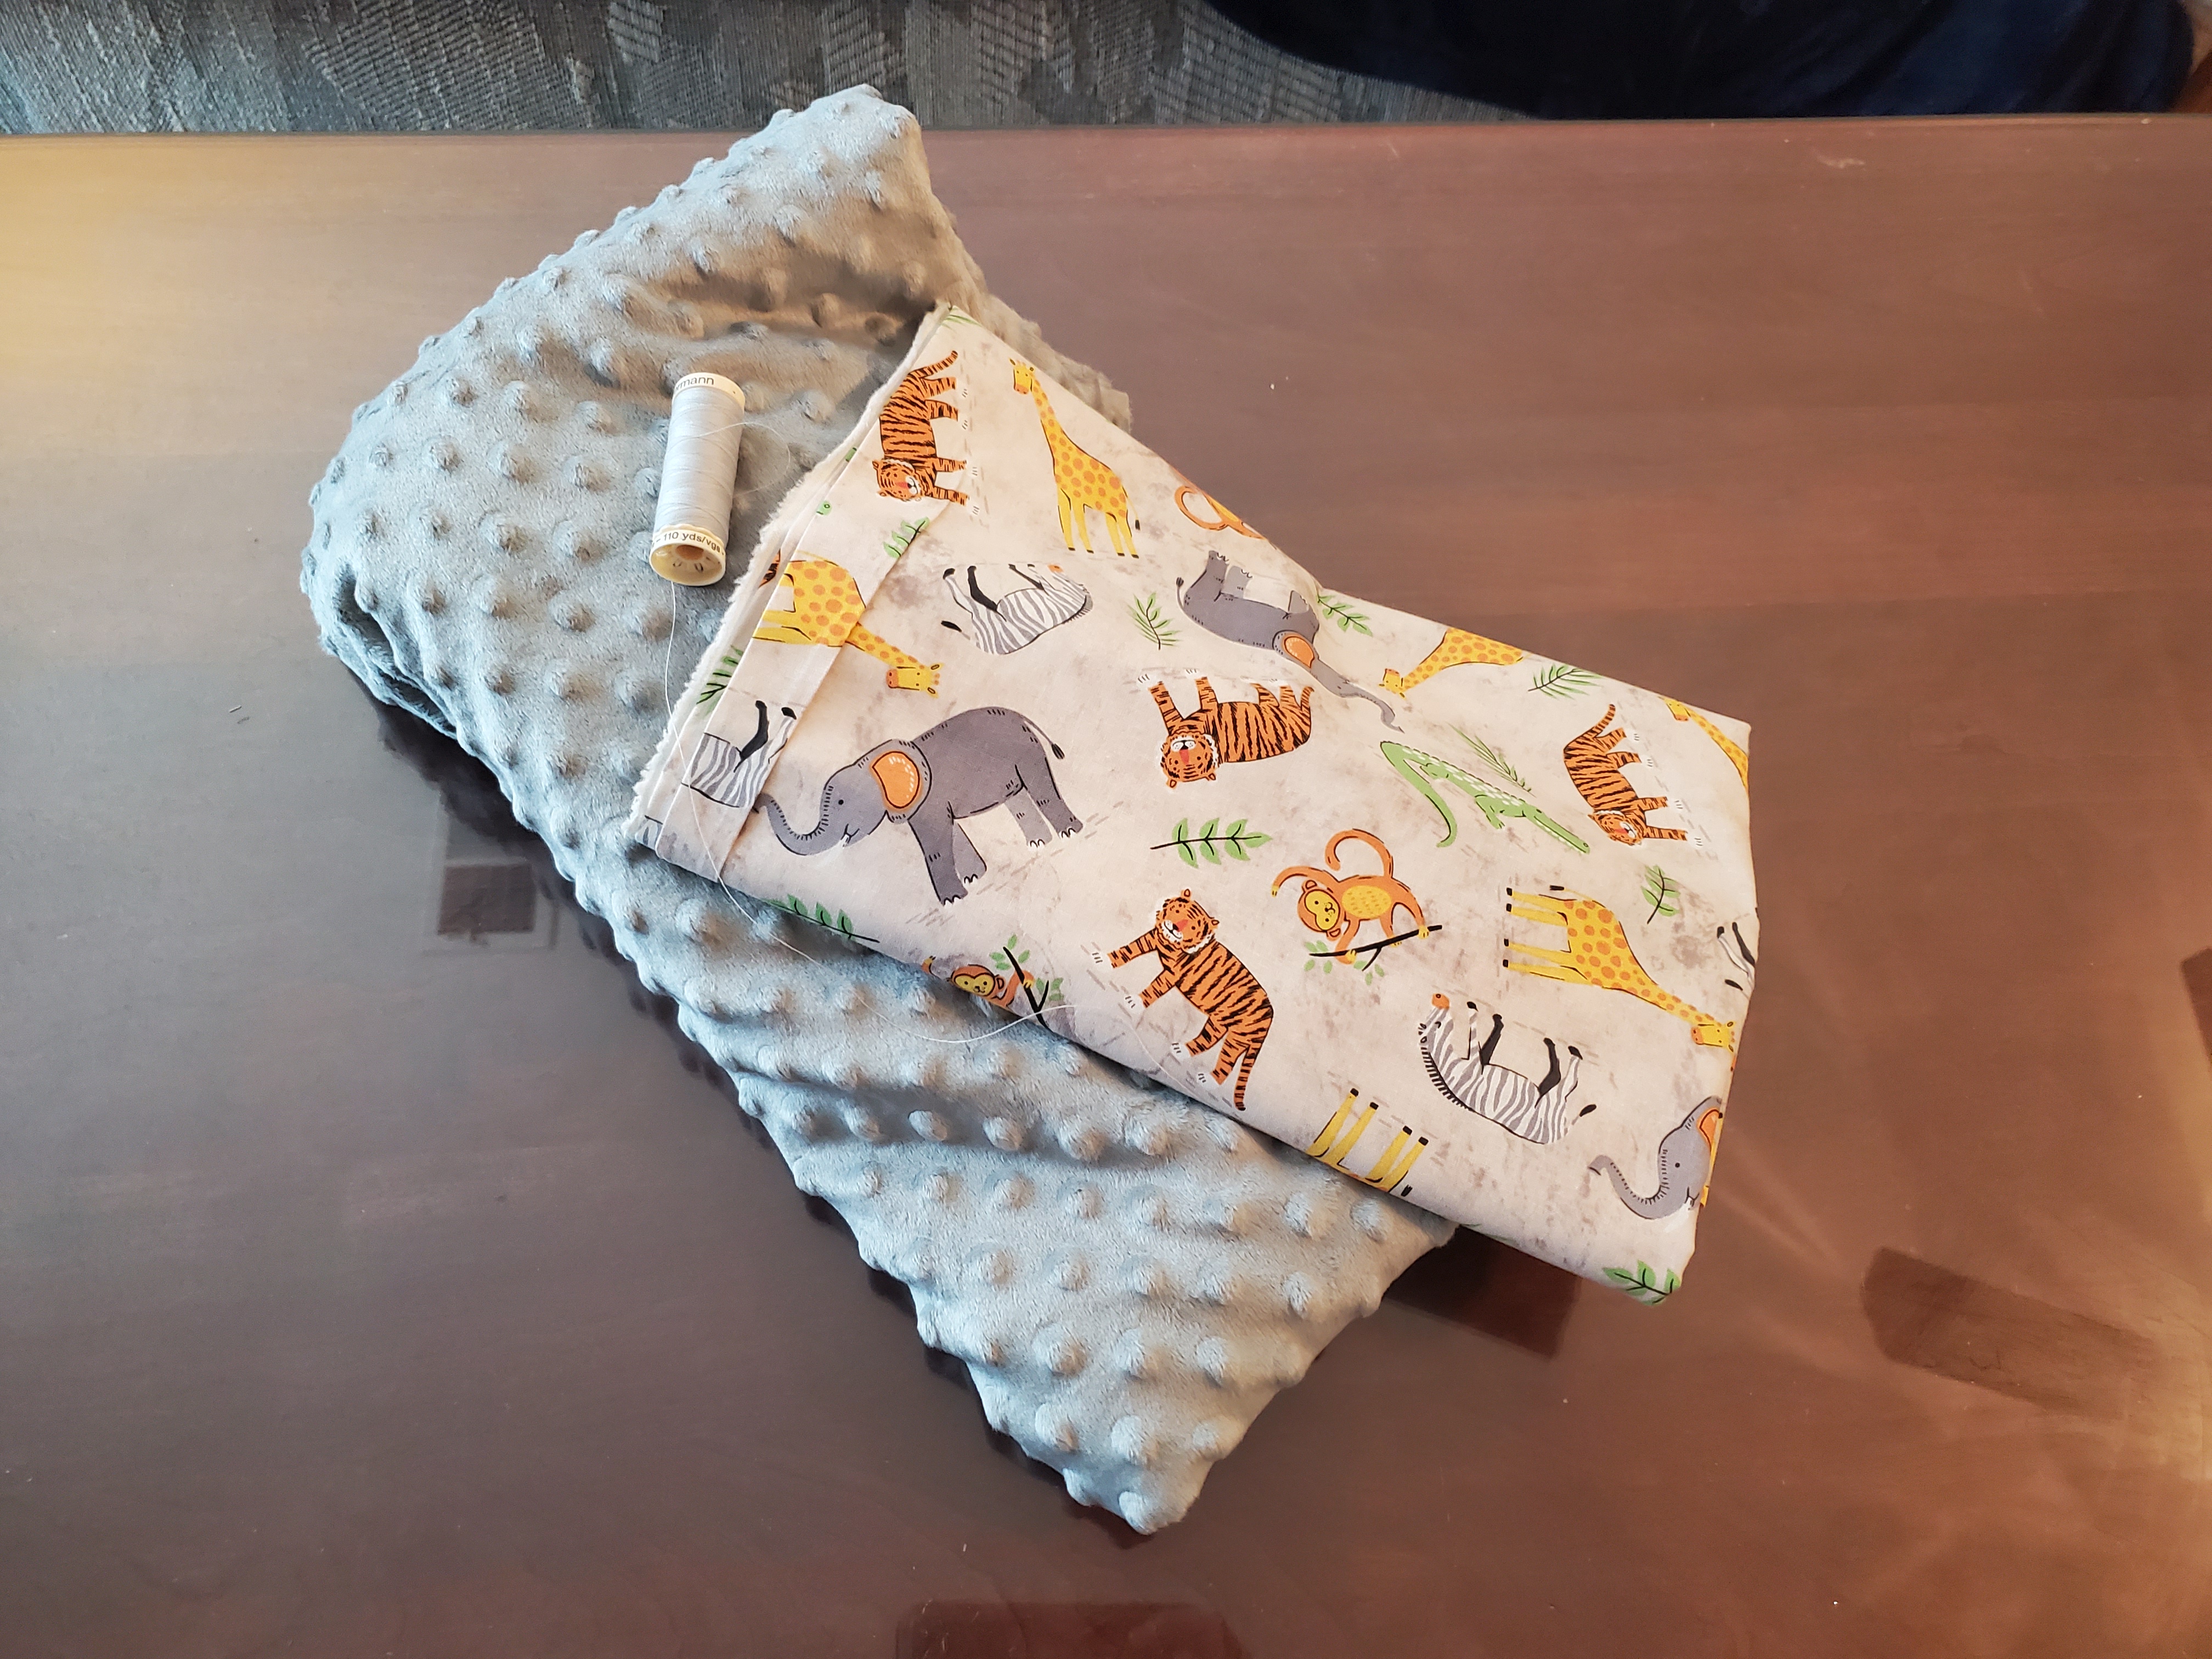
For this blanket, you’ll need:
- 1 1/4 yard of a quilter’s cotton (a perfect use for those big, fun prints)
- 1 1/4 yard of minky fabric (the kind with the dot grid, to be specific)
- Matching thread
- and your regular sewing stuff: scissors or rotary cutter, pins (if you’re into that sort of thing), tailor’s chalk or marker, a ruler, and a sewing machine.
After prewashing and pressing your cotton (or don’t, but take the risk of that cotton shrinking where the minky won’t), trim the selvedges. We’re going to create the mitered corners first.
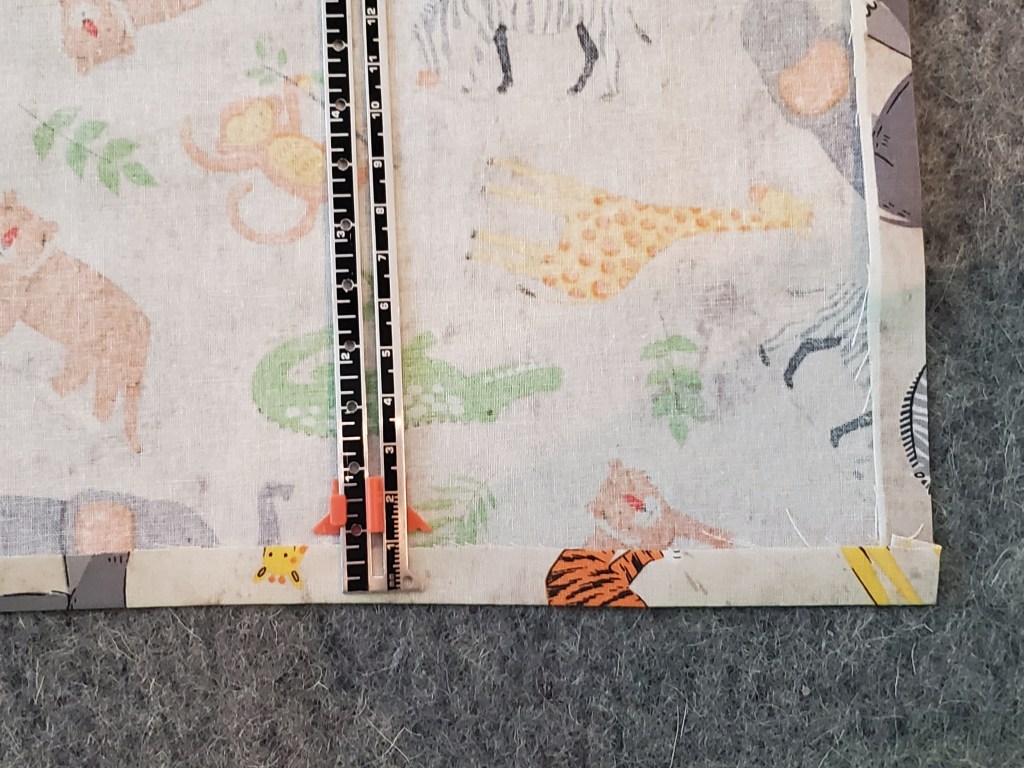
Fold a half an inch over and press on every edge of your cotton square.

Repeat that, folding over one inch this time on each side.

Unfold you last pressing. Mark one inch out from each pressed line on the edge of the square, and draw a diagonal line between the two marks (it should also go through the crossed pressed lines). Repeat for each corner.

On all corners: fold right sides together, so the marks line up, and sew down the line.
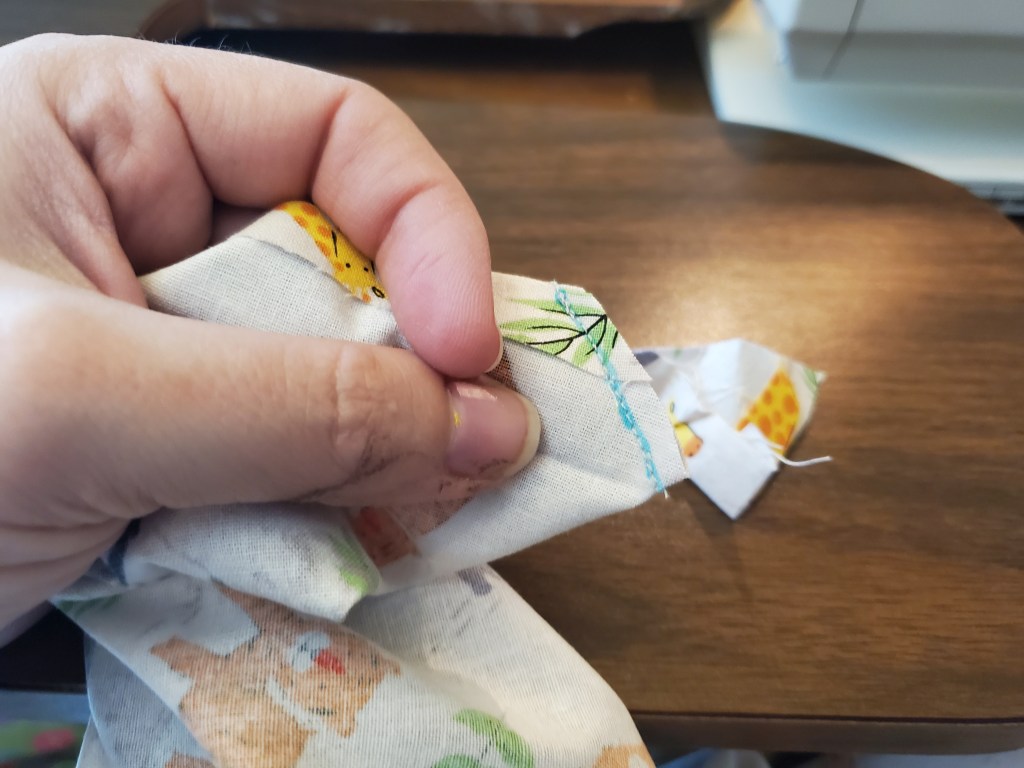
Trim the excess giving you a ~1/4″ allowance.
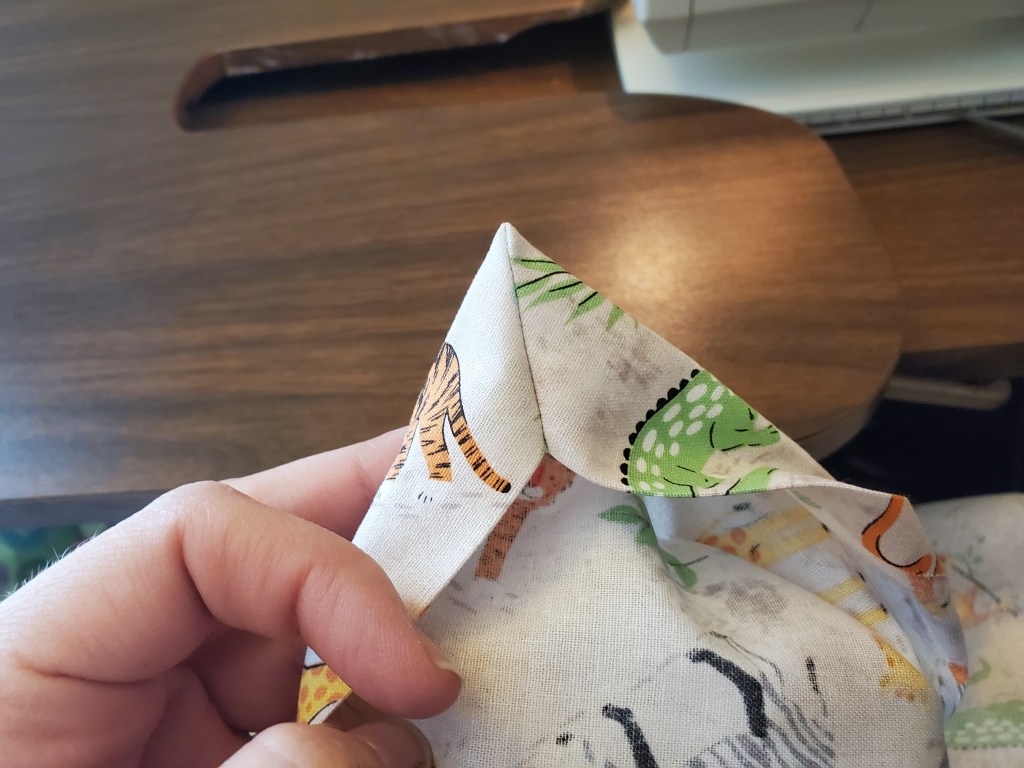
Flip it right side out again. You may want to use a capped pen, or something else blunt and skinny (I like spindle shafts…) to push the point of the corner out. Take a moment to admire your perfect mitered corners.


Lay out your finished cotton square, and cut your minky fabric to be just a hair smaller than the cotton. (Tip!! If your minky is shedding, throw it in the dryer for just couple of minutes after you cut it. It will suck out all those small fibers and keep them from getting all over your work space). Insert the minky under the binding you created with the mitered corners, and pin in place, if that is your jam.

Pick a corner, any corner. Sew diagonally down to the opposite corner, in-between two lines of dots.
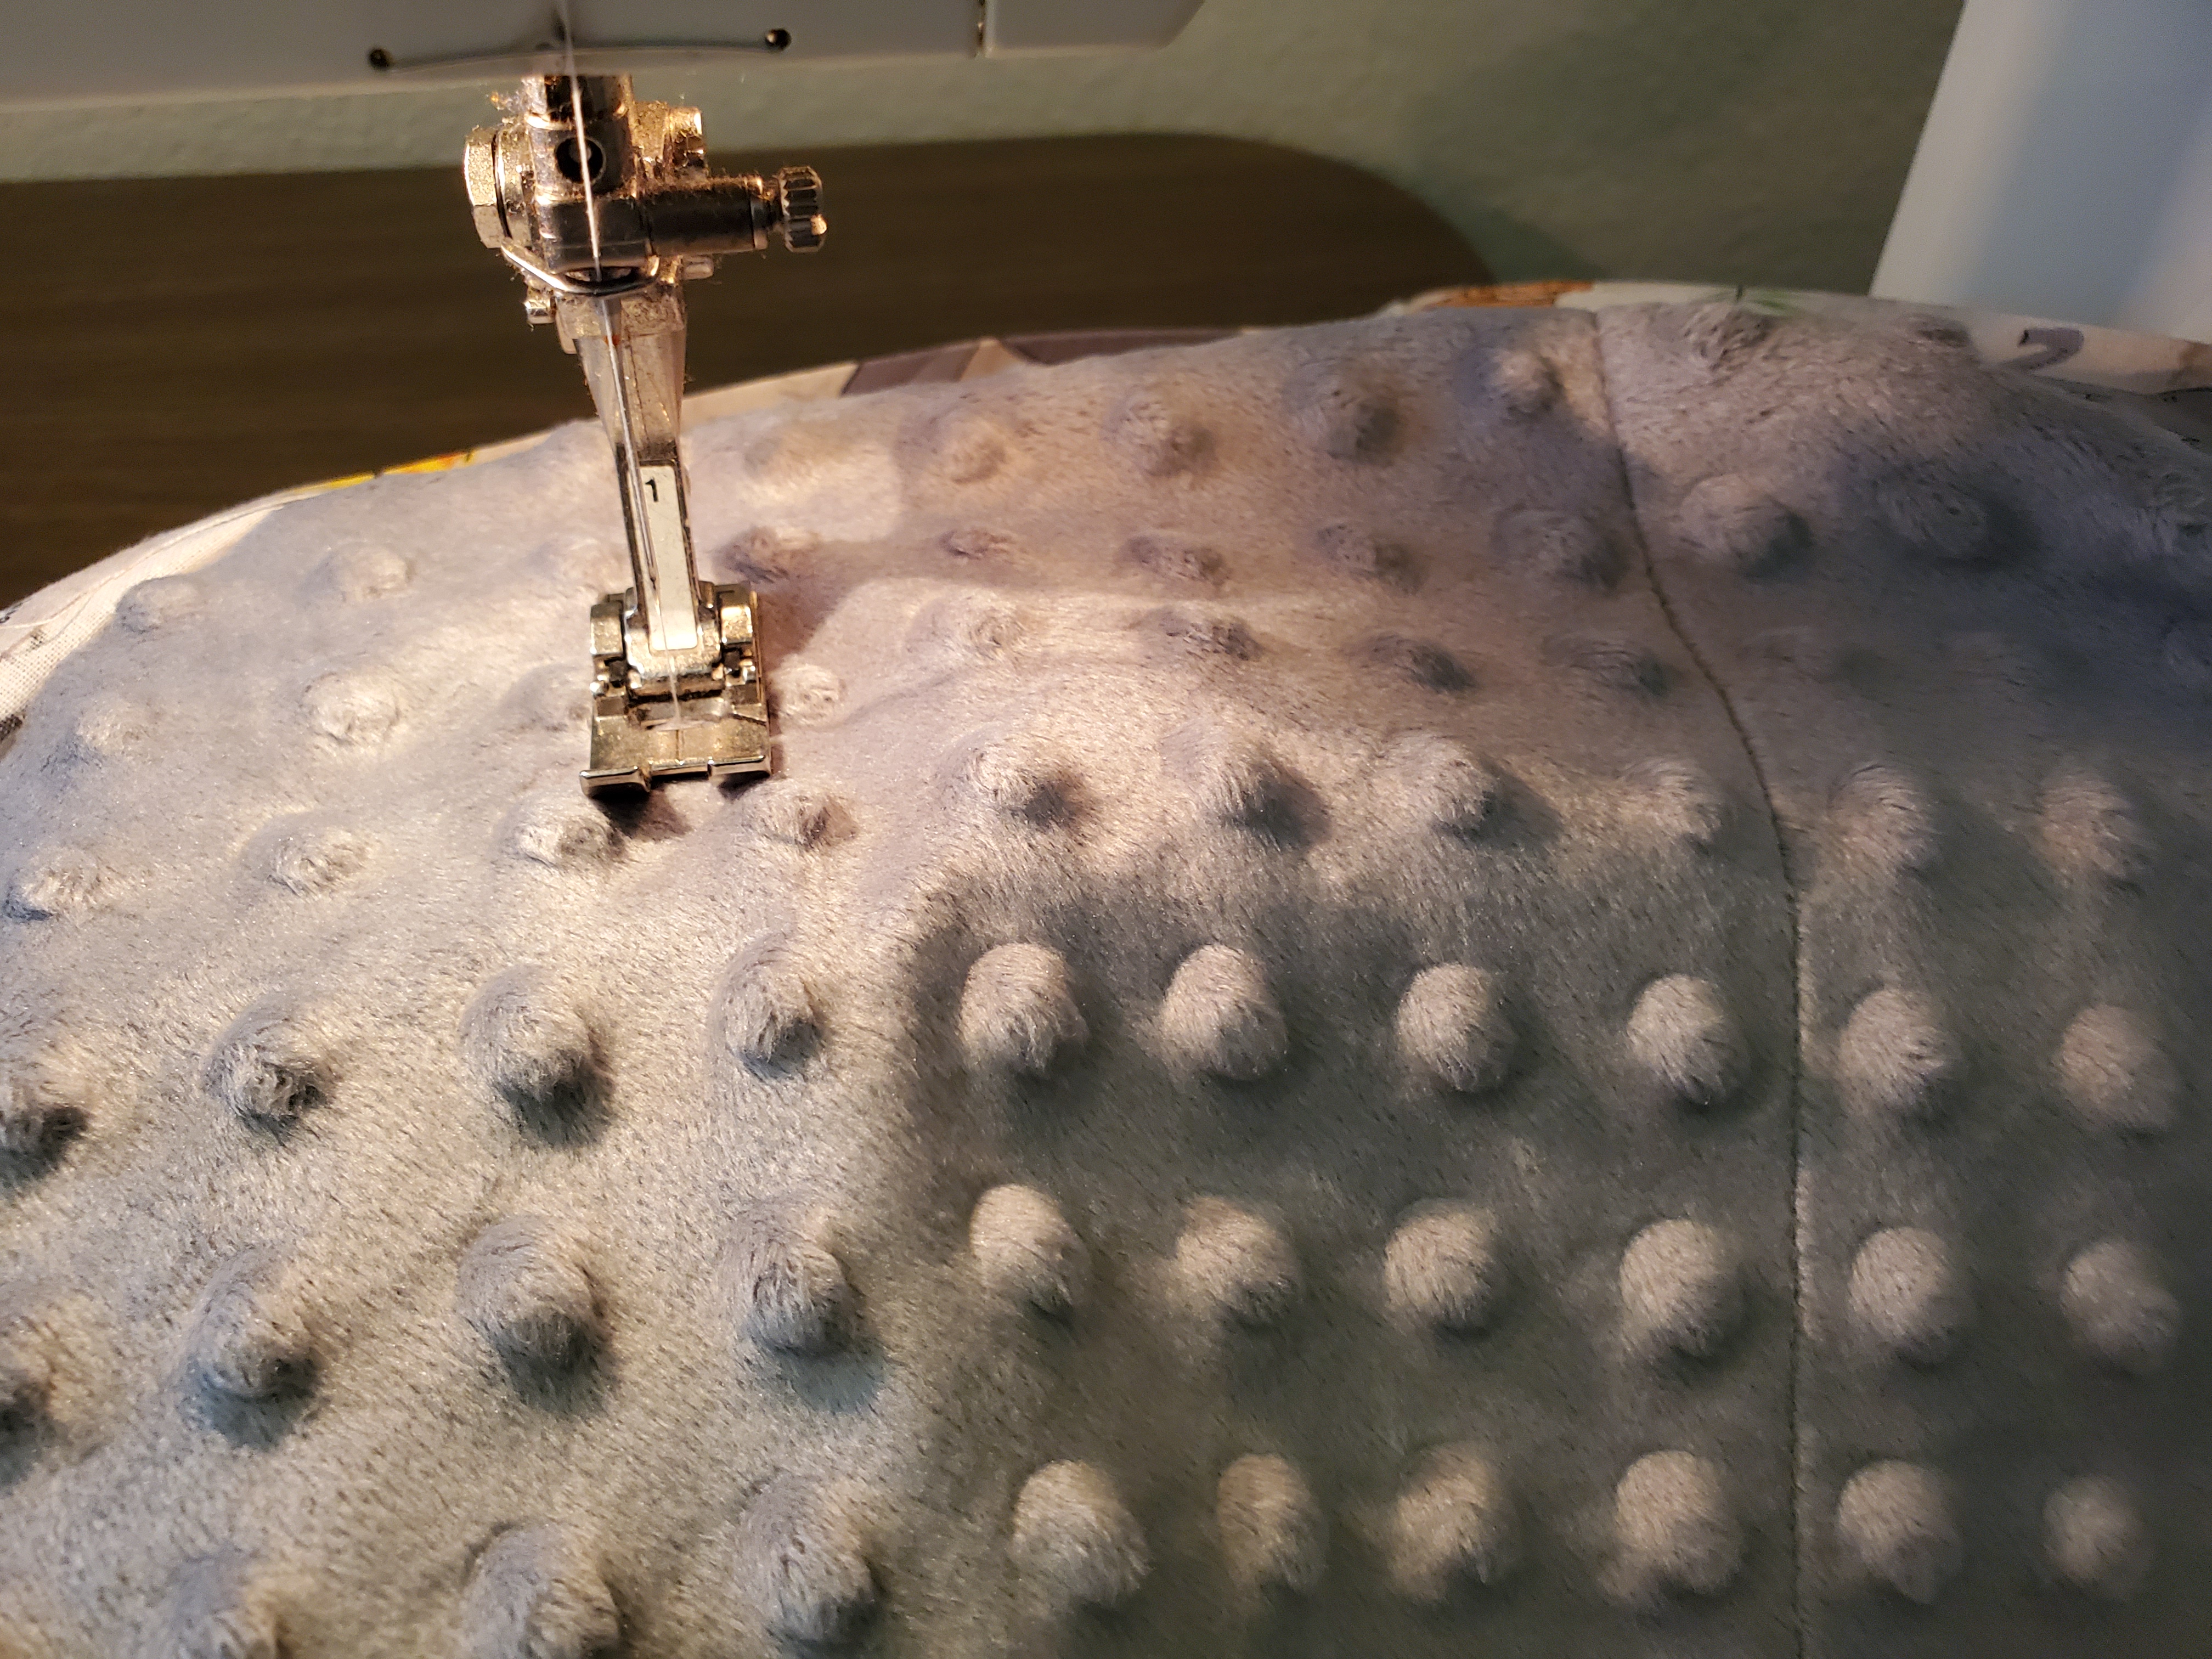
Once that line is done, count over five dots to the left. Sew diagonally down that line, still in-between the dots. Repeat that until you don’t have five more dots to go over anymore, and repeat that for the other side as well. Your blanket should be covered in columns that are five dots wide.

Pick a corner on either side of your original corner. Sew another line down the diagonal (perpendicular to your first sewn lines) to the opposite corner, and repeat in this direction across blanket every five dots as well. This turns your columns into 5×5 dot squares.

Finally, top-stitch your “binding” down.

Eh, voila! An adorable, cuddly blanket that can be made in the time it takes to watch The Lion King and The Jungle Book back-to-back (speaking from experience).
Hope you enjoy making your own! And if you share any photos, please tag me and/or use the hashtag #fiberadventures. I’d love to see them!!

This is adorable and so well done!
LikeLiked by 1 person
Super cute, great tutorial, can’t wait to make one!
LikeLiked by 1 person
I have never seen or heard of minky fabric before. It looks so cozy. I would do a blanket like this with flannel on both sides.
LikeLiked by 1 person
The minky with the dots is great, because you have straight lines already to sew along
LikeLiked by 1 person
I love that. It is like the wrapping paper with the grid lines on the back. I need all the guidance I can get!
LikeLiked by 1 person
Me, too!
LikeLiked by 1 person